
3D view (EFIS)#
Air Navigation Pro provides a graphic interface that displays a view in 3 dimensions.
How to purchase 3D view#
The 3D view is provided as part of the Air Navigation Pro subscription plans. It requires Air Navigation Pro 8.
Introduction to the 3D view (ex. EFIS) module#
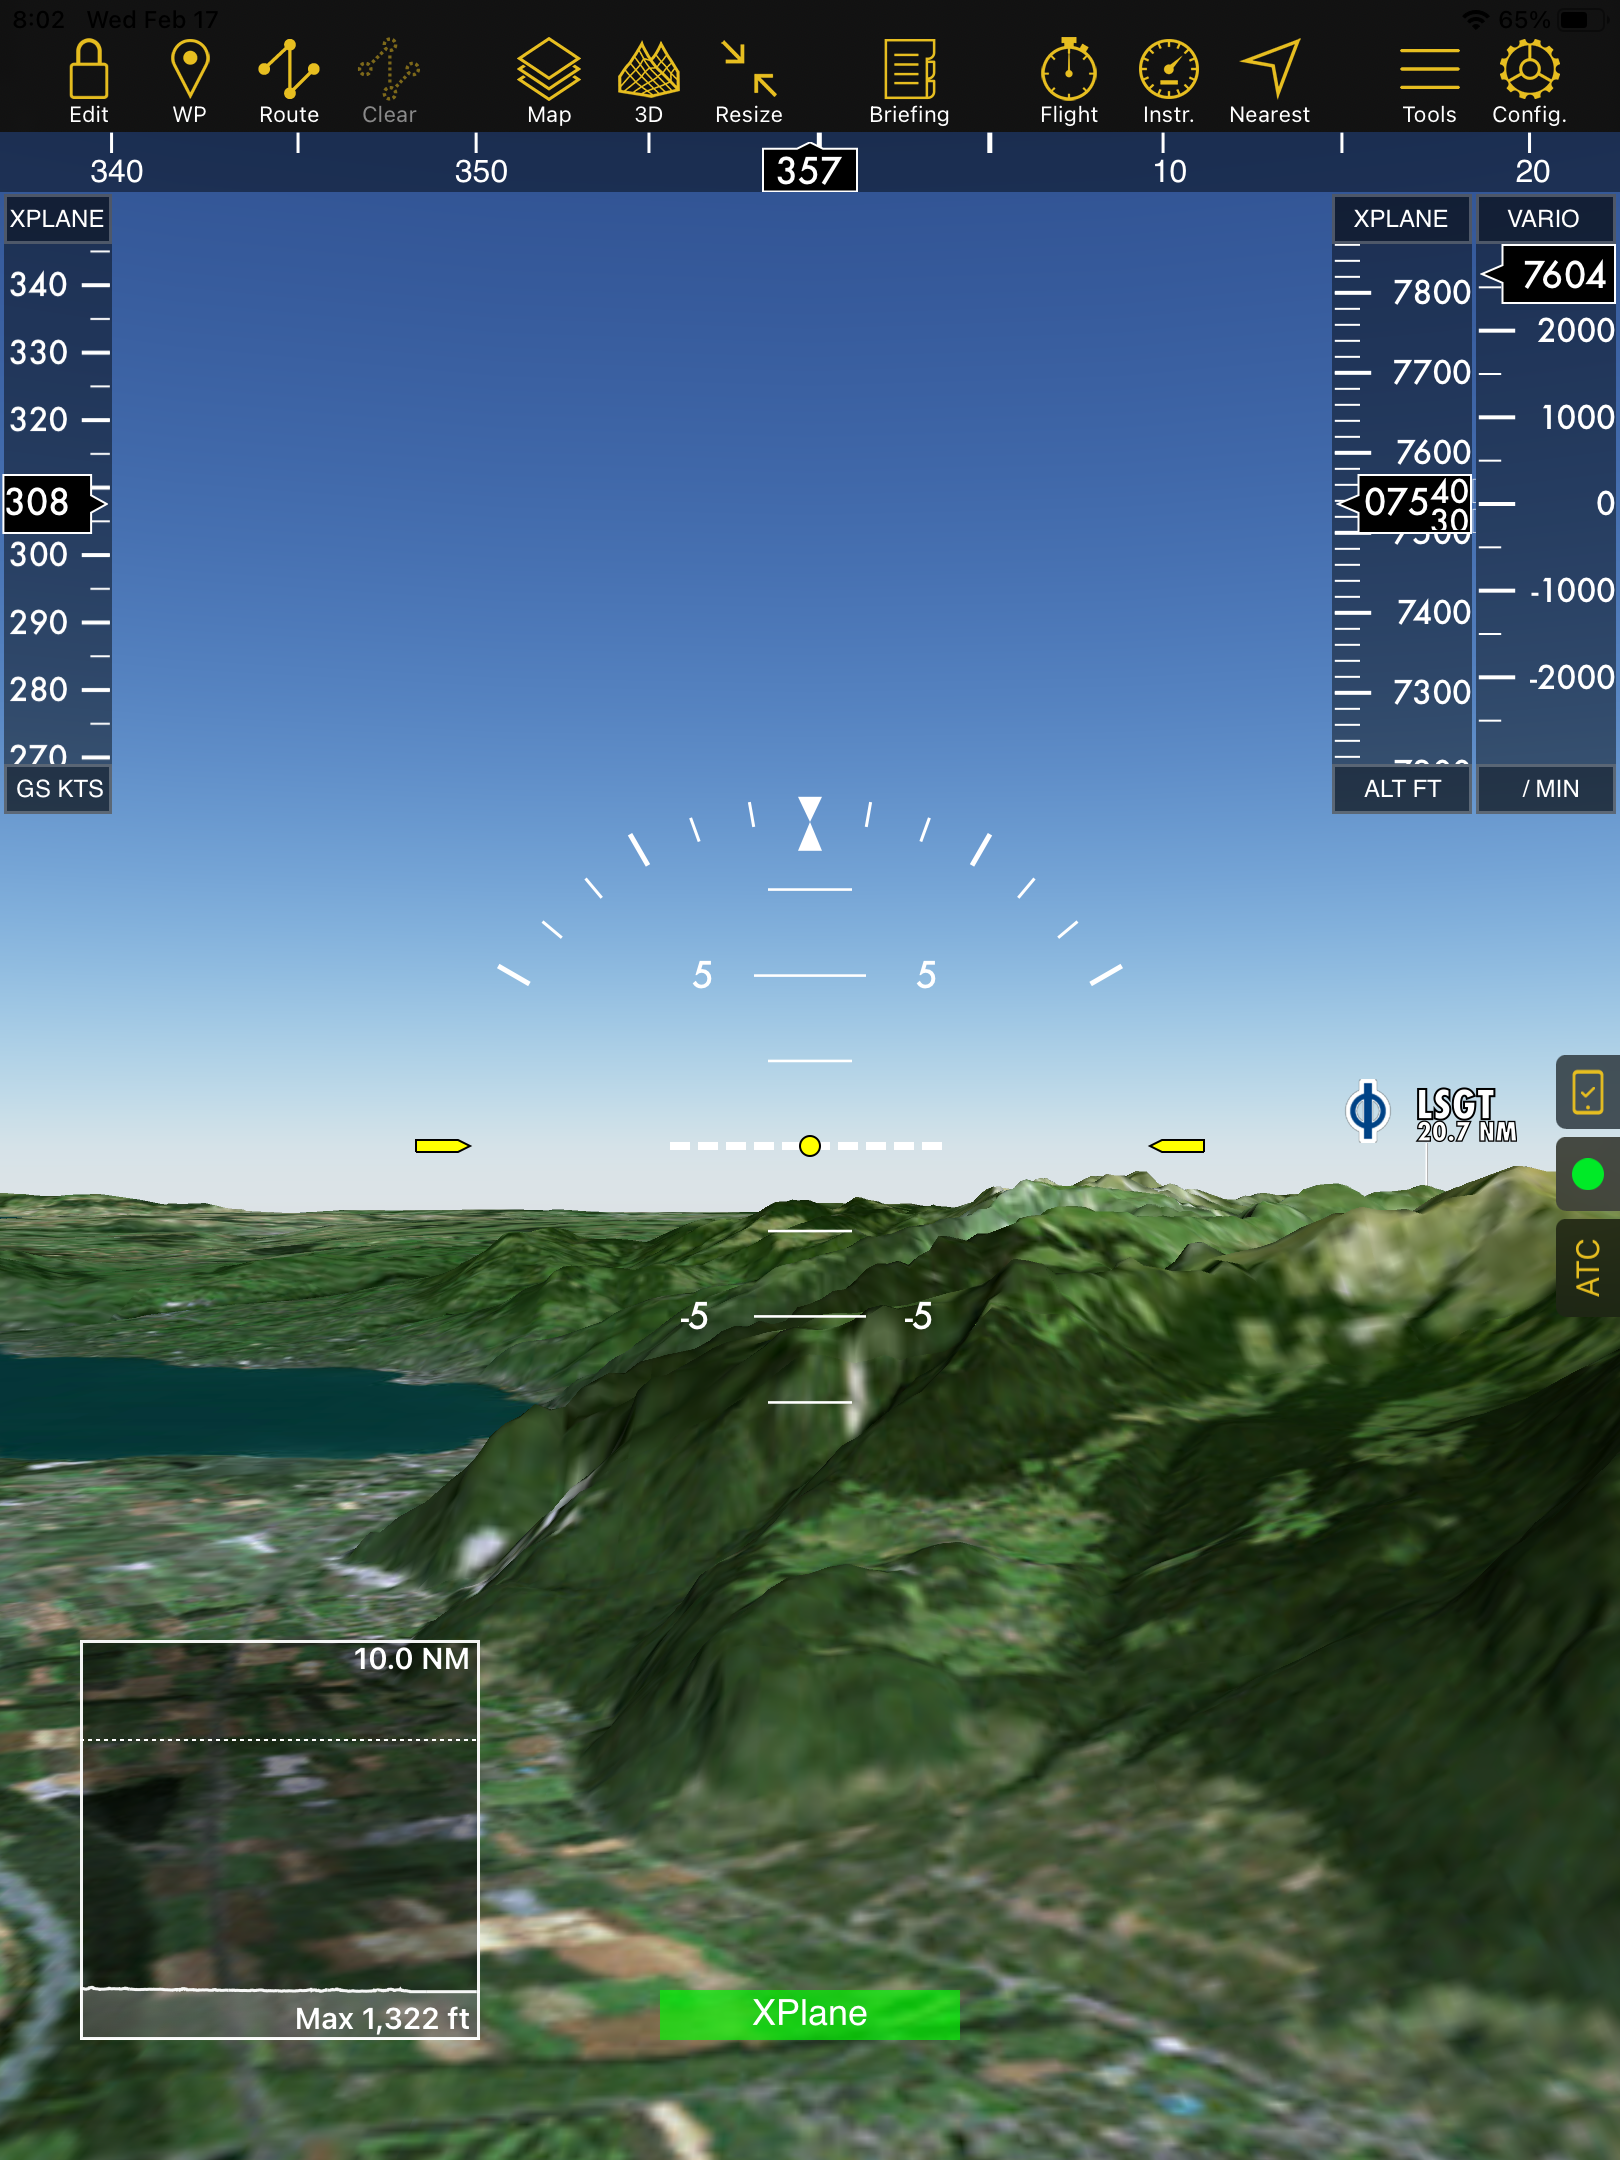
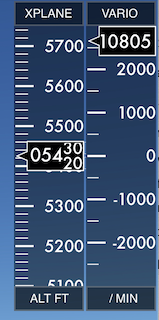
On the right screen of the device, it shows the elevation indicator, and on the left side, it displays the ground speed indicator.
At the top of the screen, it shows the Heading indicator.
In the middle of the screen, there is the Artificial Horizon.
At the bottom, there’s a green button that shows a different label depending on how and where you are flying:
You might see the following:
 You can freely navigate throughout the terrain in this
mode.
You can freely navigate throughout the terrain in this
mode.
 Press it for 2 seconds to calibrate it according to your
device`s position.
Press it for 2 seconds to calibrate it according to your
device`s position.
 This will show when using an AHRS G mini gadget.
 This will show when using Air Navigation Pro with X-Plane.
Note
In order to make use of the Artificial Horizon and heading indicator, you must have an iPad/iPhone with internal gyroscopes
AHRS + Pressure + view Mode#
AHRS#
Air Navigation Pro is prepared to work with an external device known as AHRS from Levil technology. It’s compatible with its two versions:
AHRS g mini
iLevil AHRS
The AHRS will provide accurate data for altitude, bank and rudder. Besides it shares pressure, altitude and airspeed information with Air Navigation if the sensors are active.
How to connect the iLevil to ANP#
On the toolbar, tap Tools (For phone: Tap Config.) > Sensors > Levil AHRS G Mini/iLevil/ICfly
Enable the Levil sensor
Switch on the iLevil device, wait calibration, then connect the iPad/iPhone to the device wifi network.
Pressure#
Air Navigation comes with the possibility of setting the QNH at the top of the Altitude indicator within the EFIS module. You can change it when in “Flight Mode”.
External devices compatible with the pressure indicator:
iLevil AHRS / AHRS G Mini
ASI FlyNet2
Also, by pressing on the top bar, you can toggle the screen view to Course/Heading mode. This will only work when using the AHRS G Mini gadget.

Note
If you split the screen on the iPad while using the EFIS module, you will always show the Route module and the Moving Map as the ONLY instruments.
View Mode in 3D EFIS module#
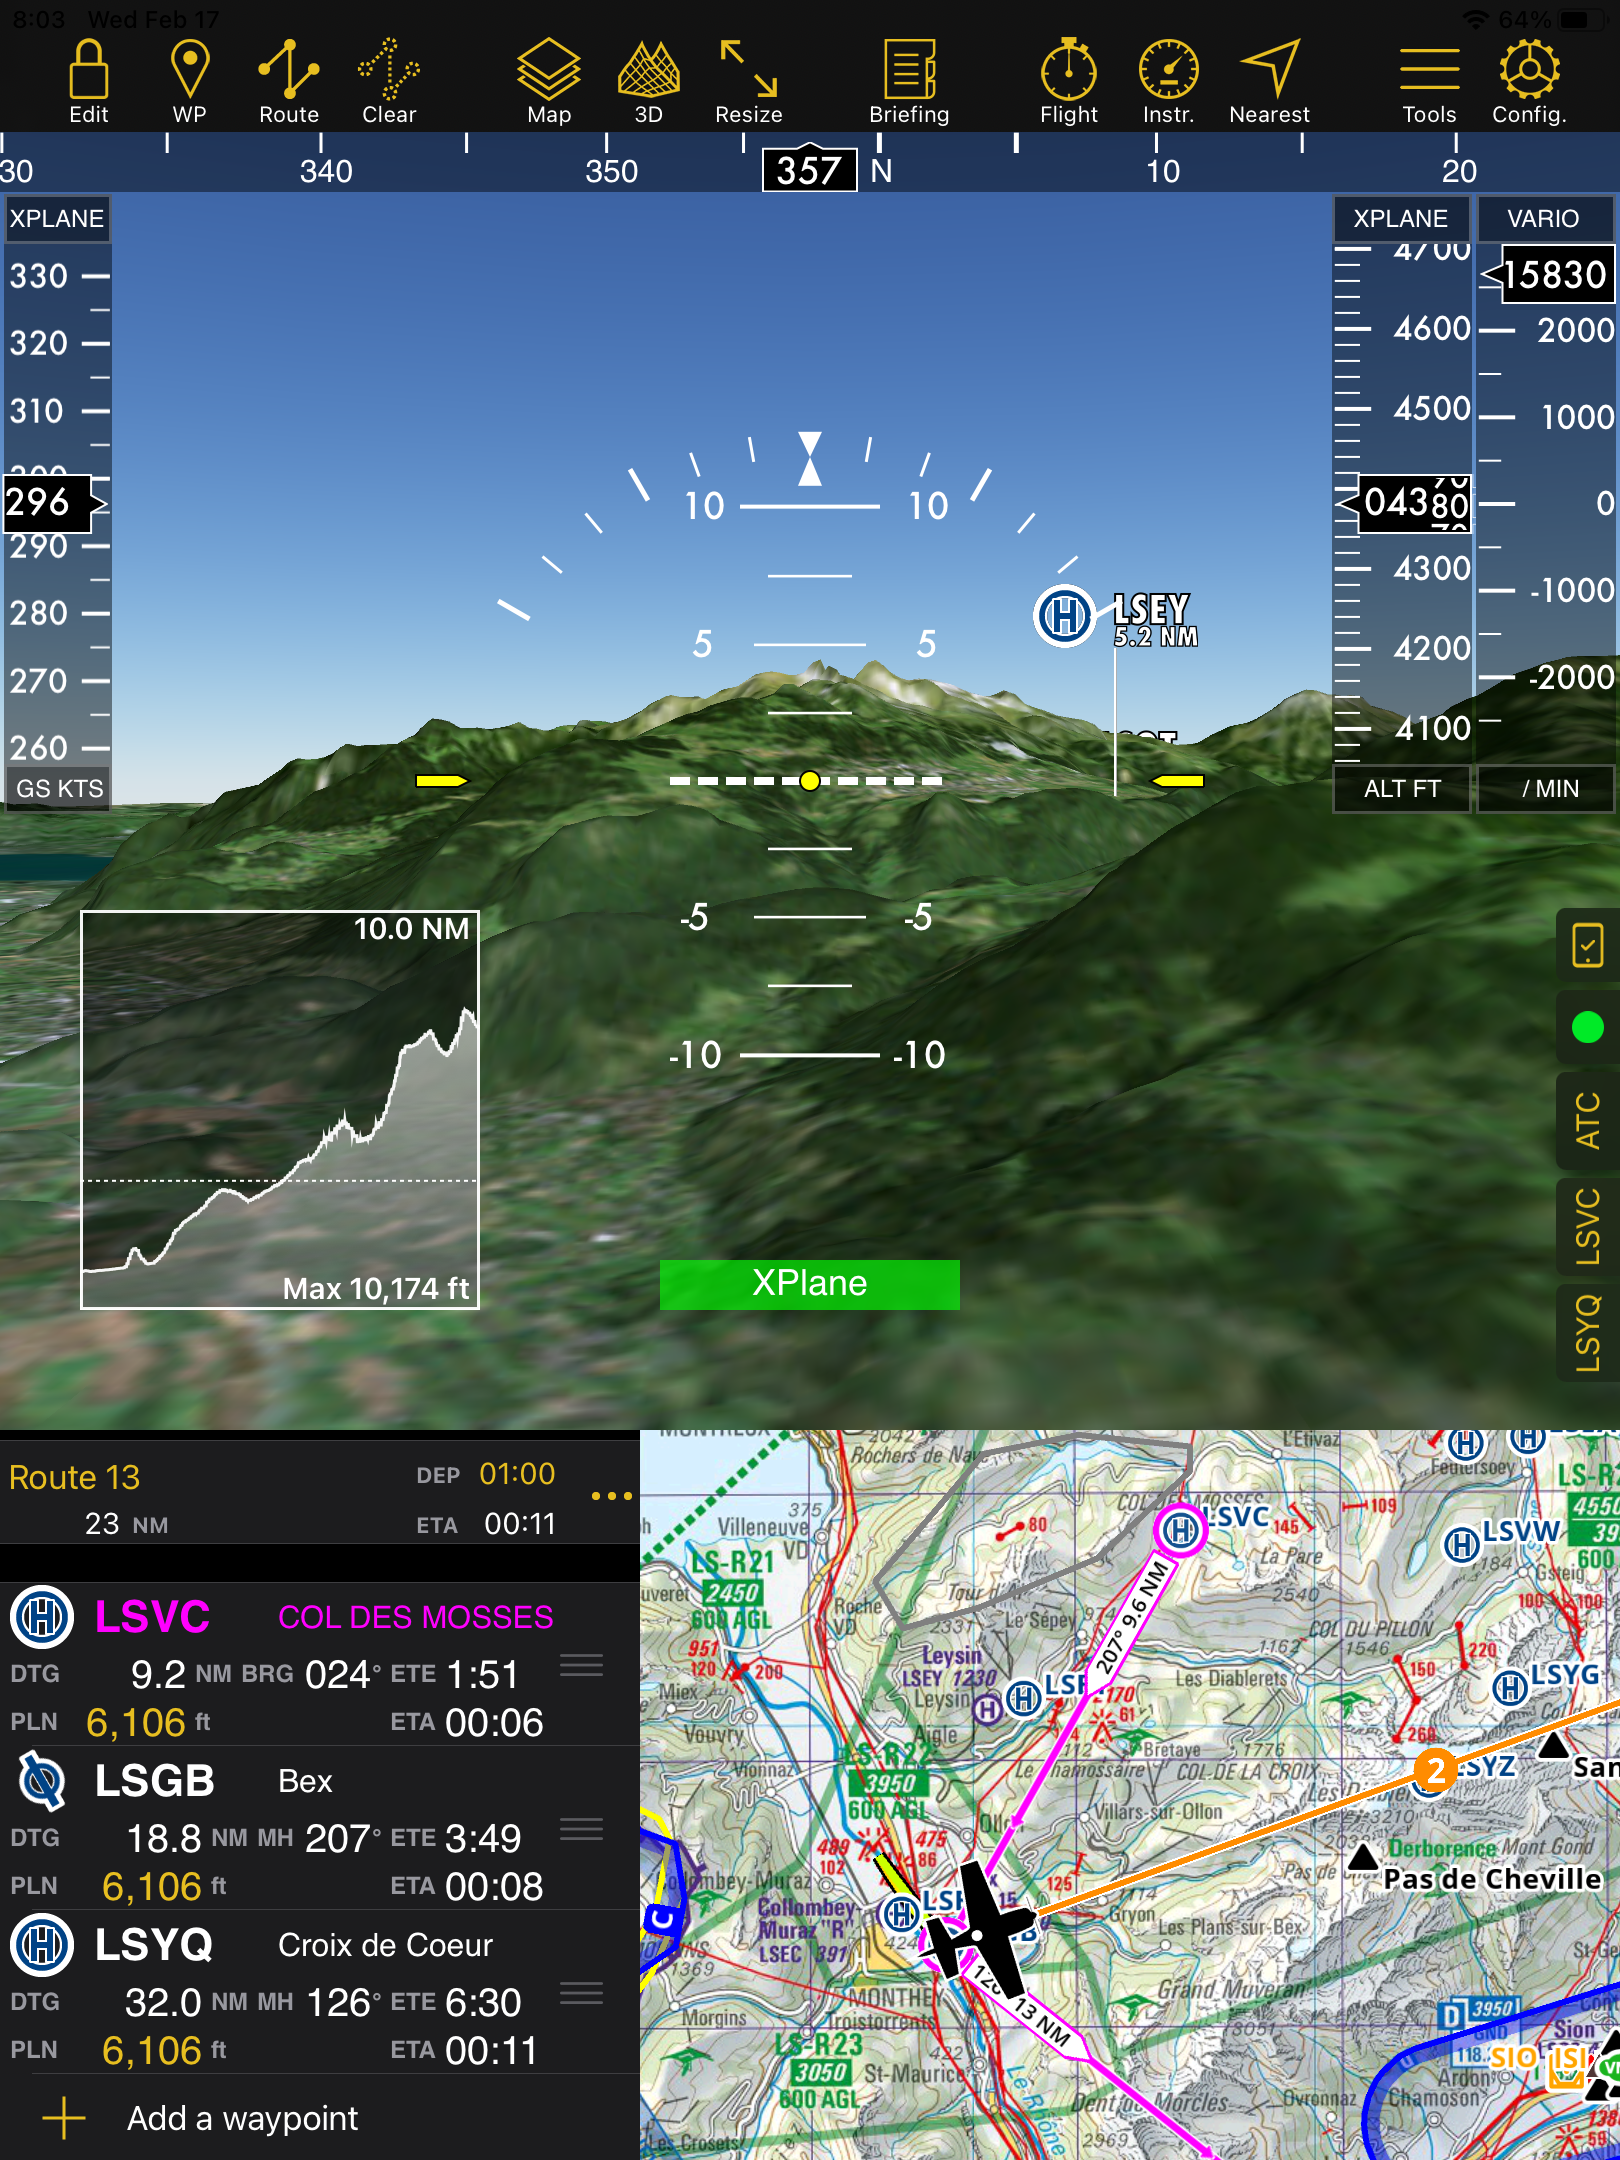
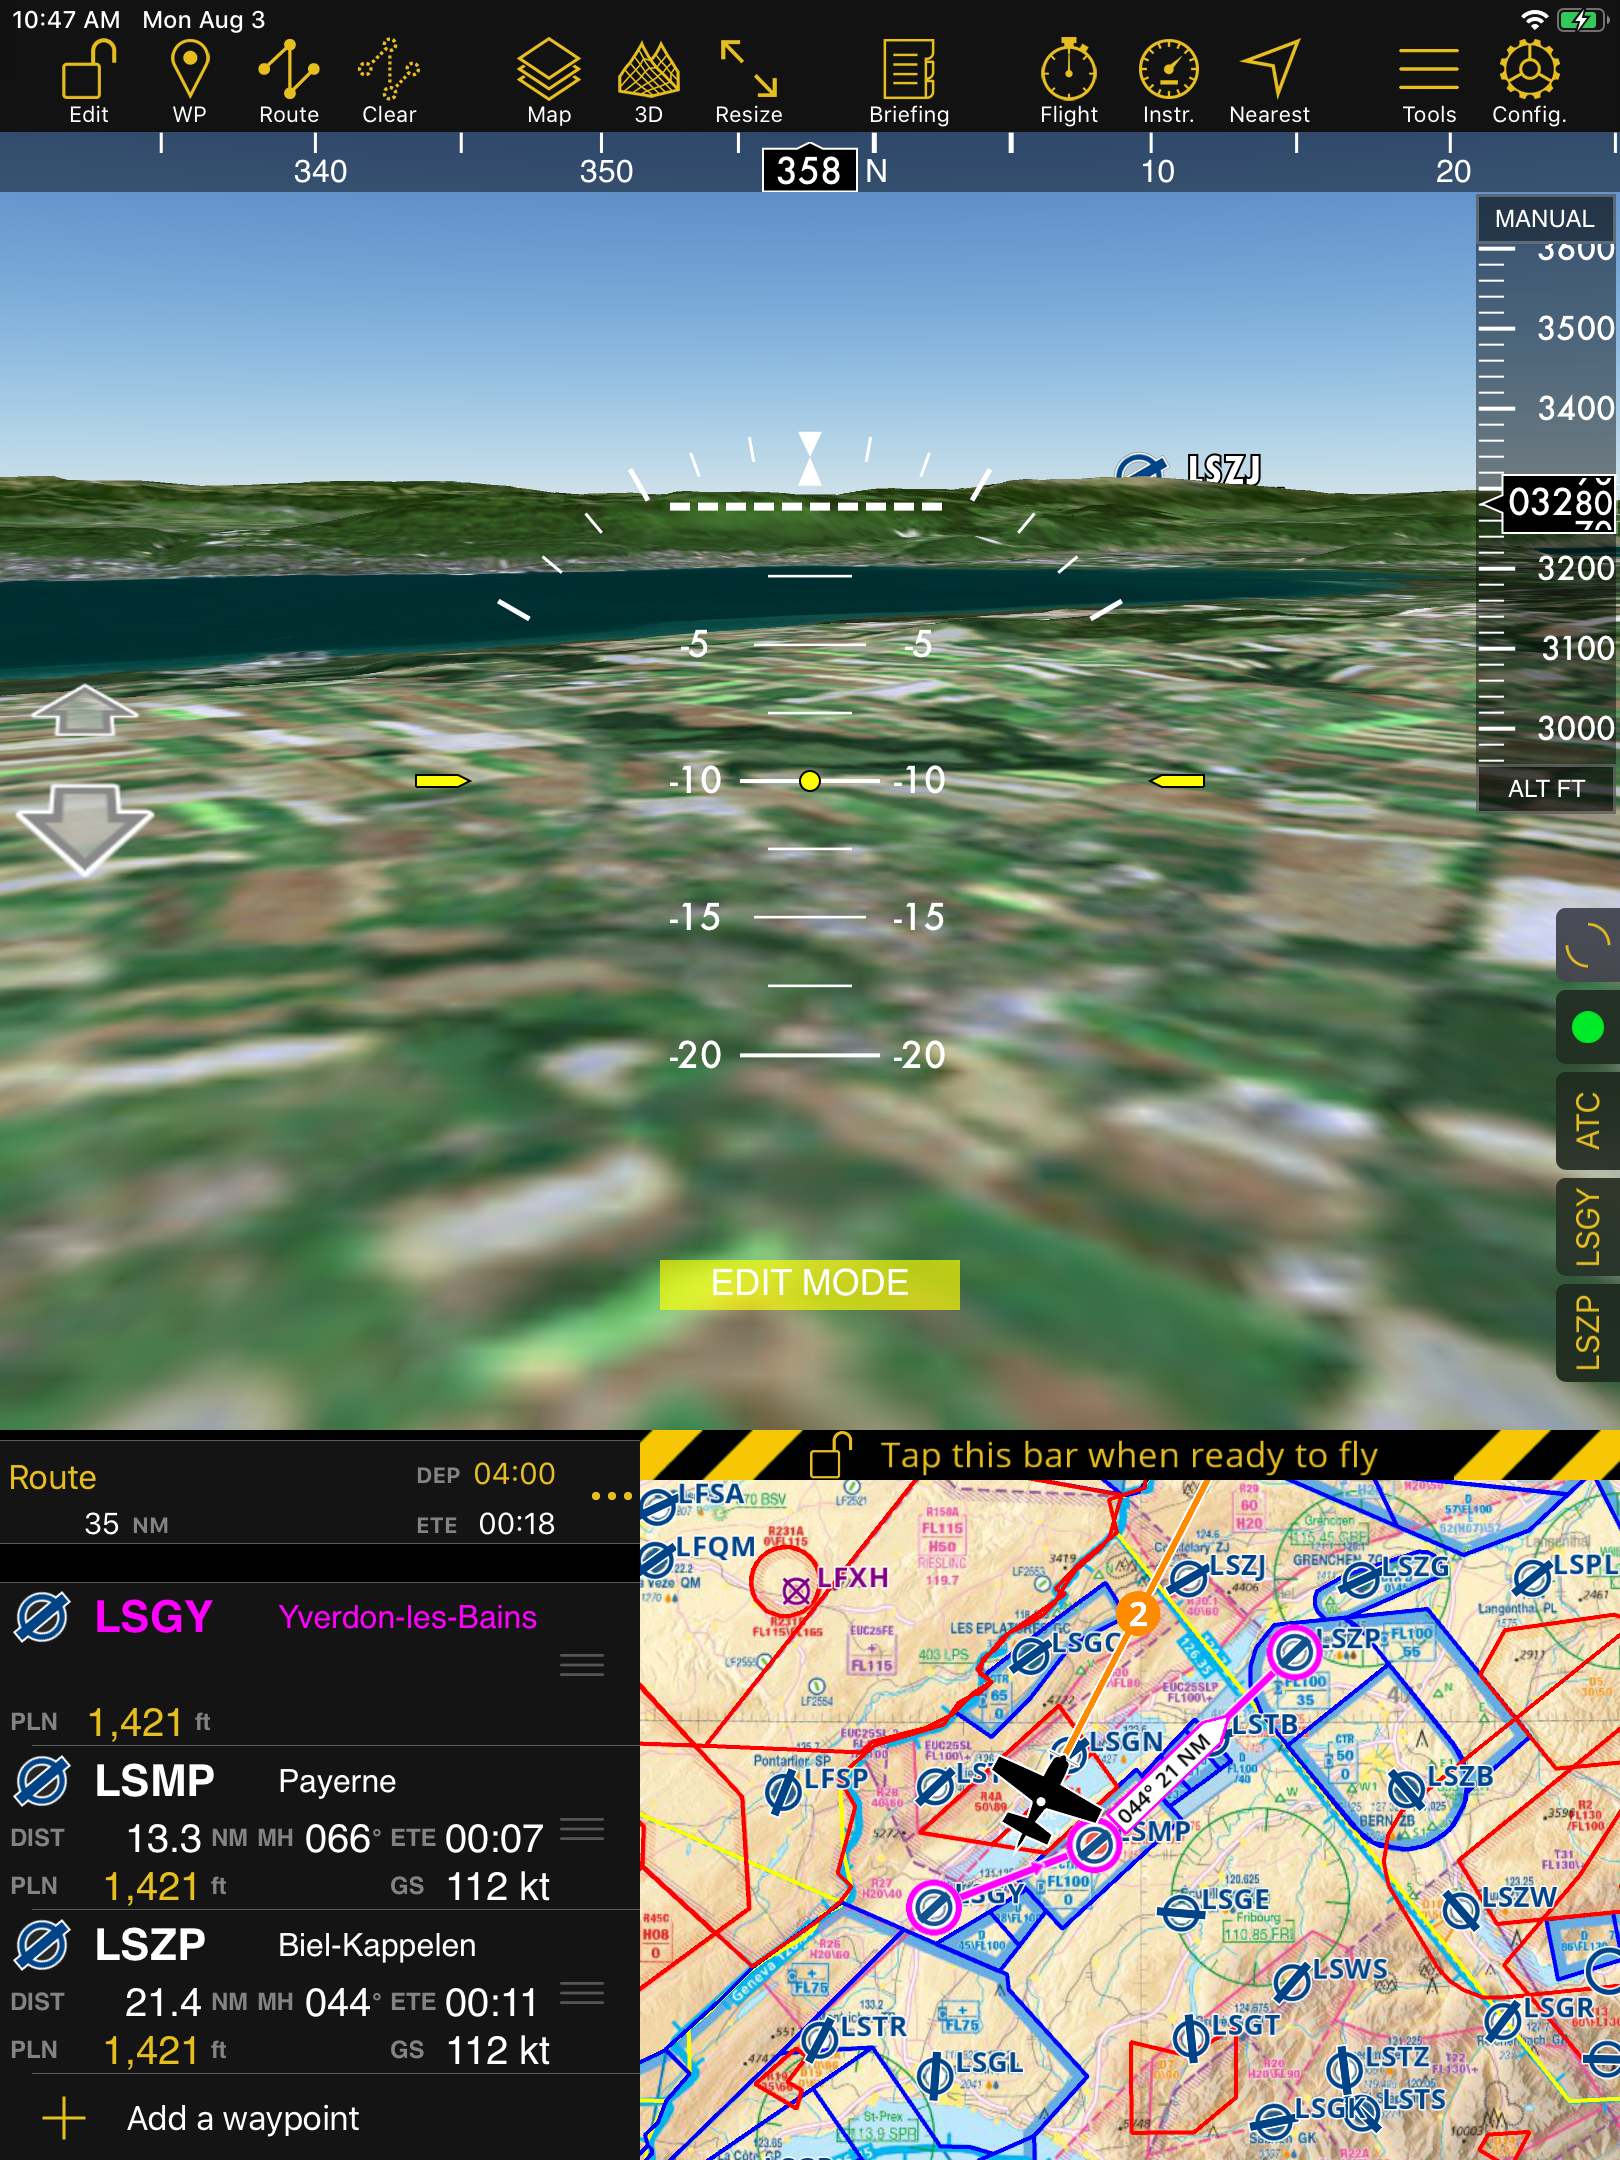
In EDIT mode, you can manually move along the 3D terrain by controlling pitch, heading, altitude and moving back and forth.
When you have a route created and still in EDIT mode, if you press on a waypoint Route module, you will be positioned 2 NM from the selected waypoint in the direction of the leg.
Use the following controls to move along the terrain:
Use the Altitude indicator to move up/down.
Use the arrows on the left to move forth and back.
Use the artificial horizon in the middle of the screen to control pitch and direction.
Terrain awareness 3D/2D#
First you need to enable Terrain Awareness to show it on the map and if you want to use the feature in 3D view you need to acquire first a 3D data from the Store.
How to enable the Terrain Awareness#
Hint
On the toolbar tap Map > enable the Terrain Awareness
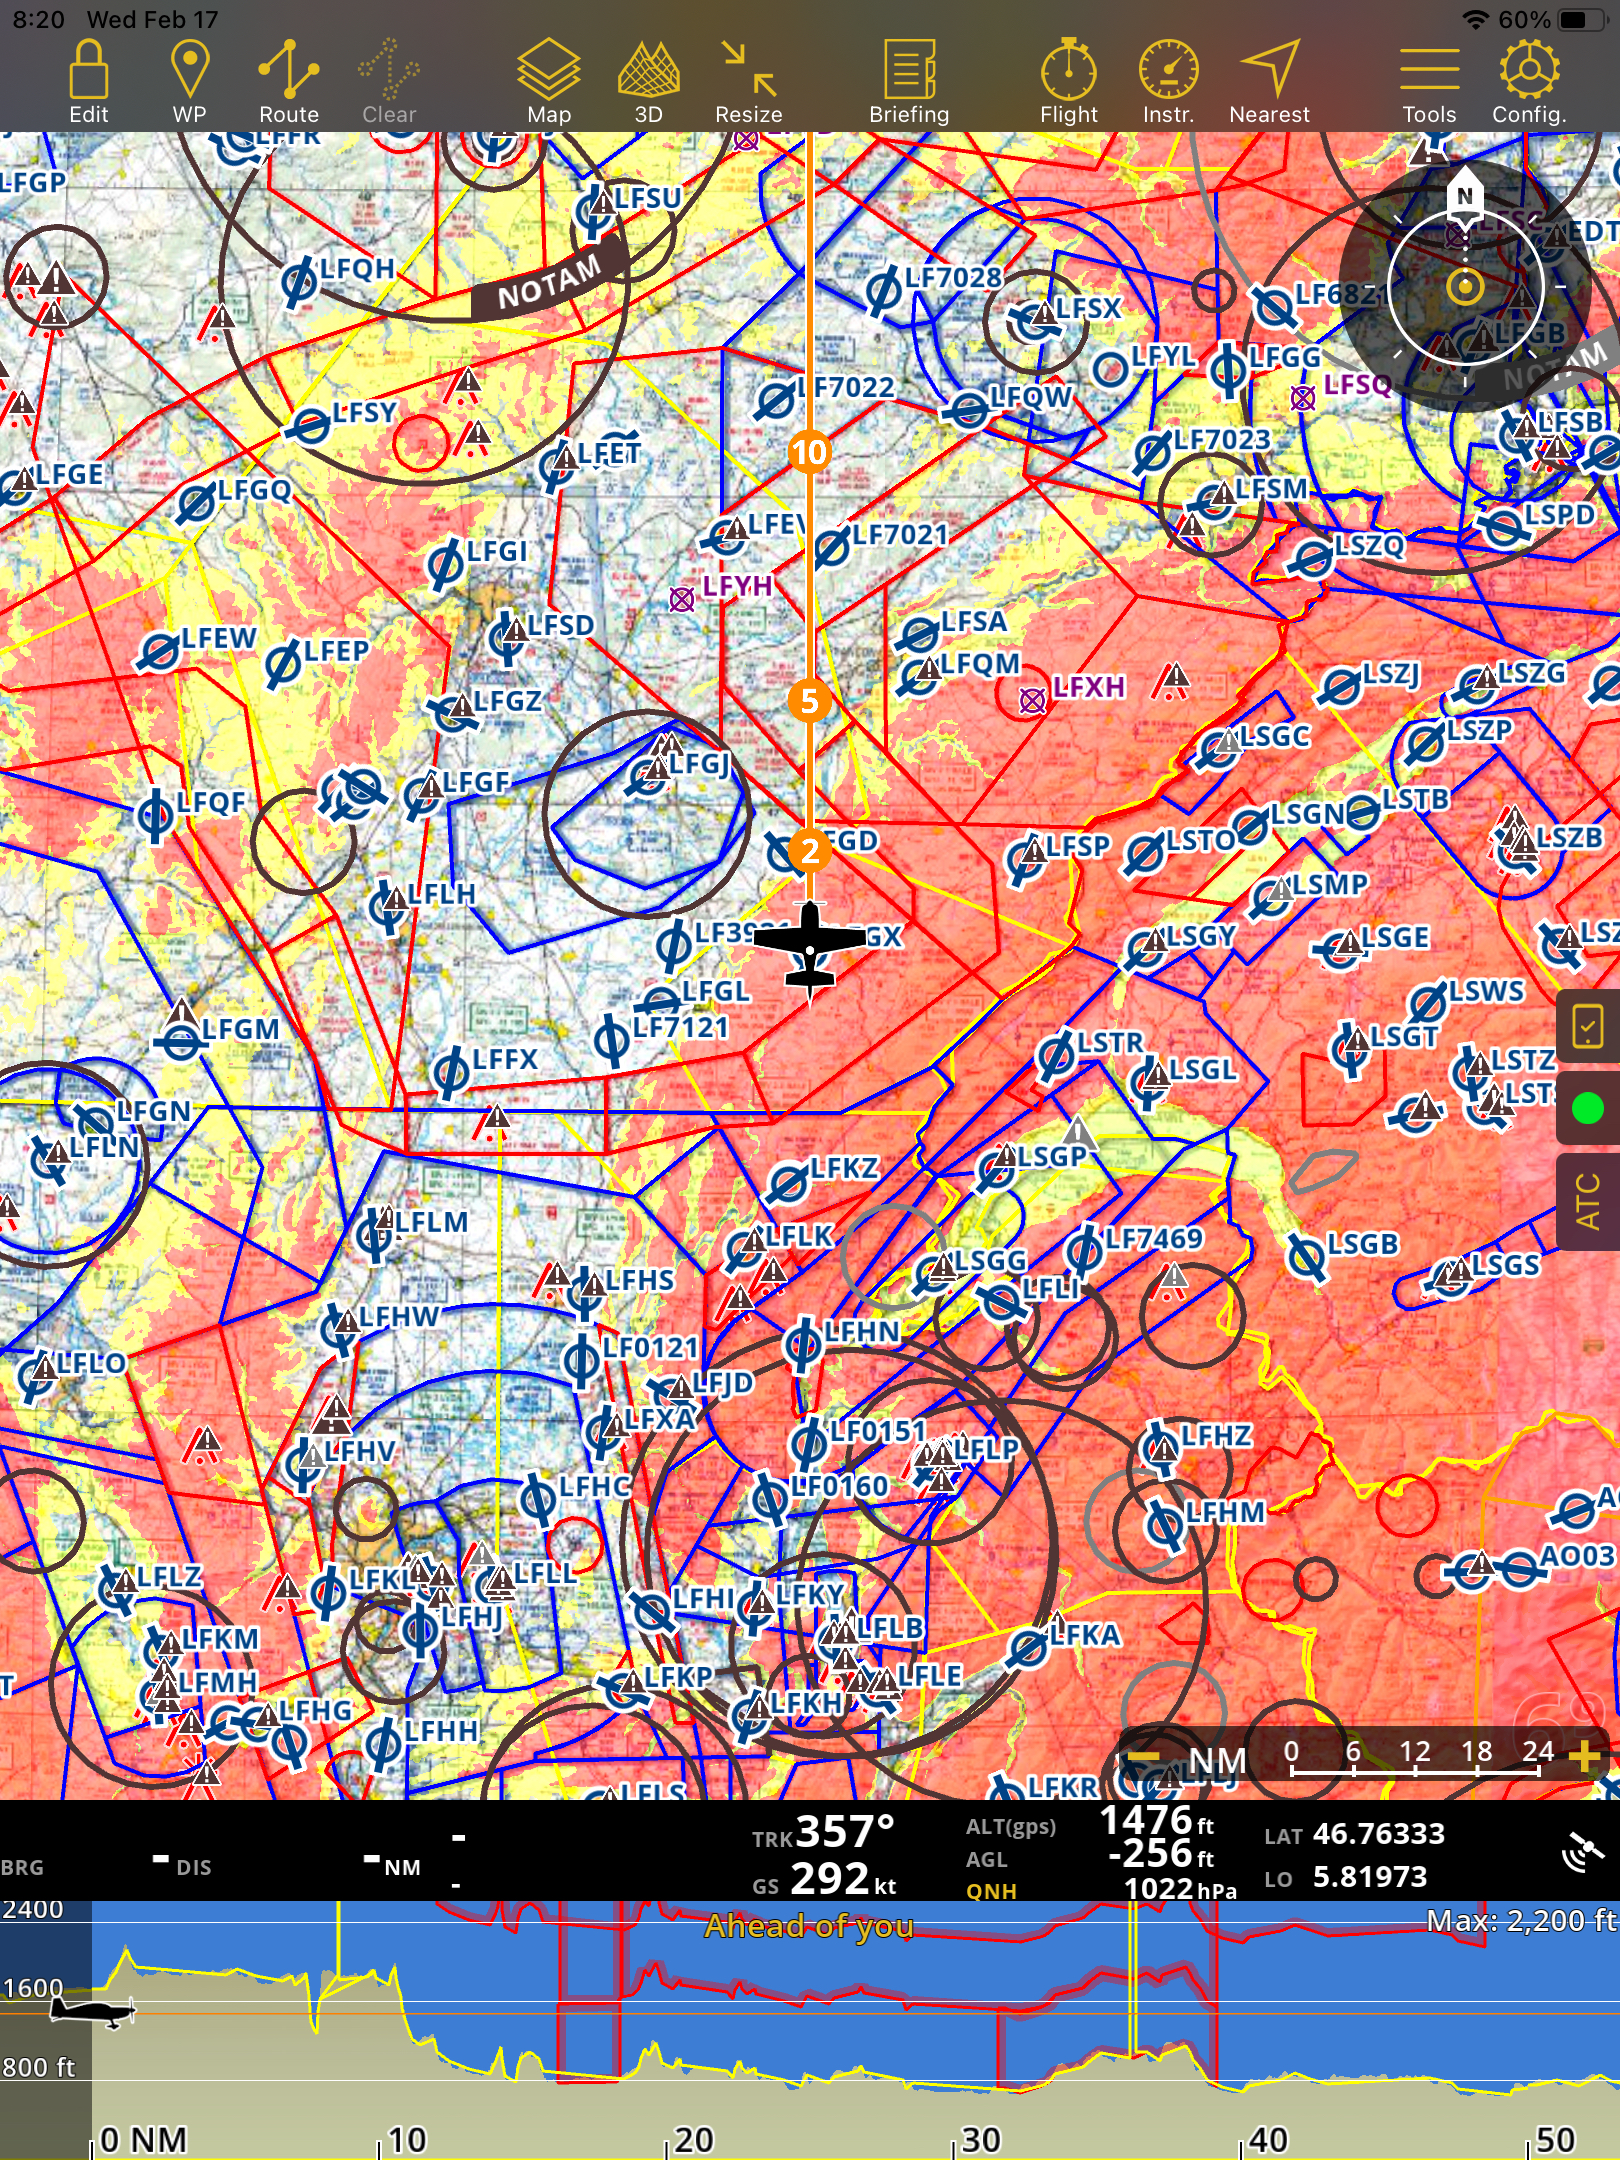
When the terrain awareness is already enabled, it will show the terrain zones above current altitude in RED. Terrain below you up to 50 meters will show in YELLOW. This feature works for both the EFIS module and the 2D map.
Note
If you have the option “Terrain awareness” enabled, but you don’t use it, you might experience a yellow color on the map, so it is better to disable it.